

How To Repair Woven Chair Seat
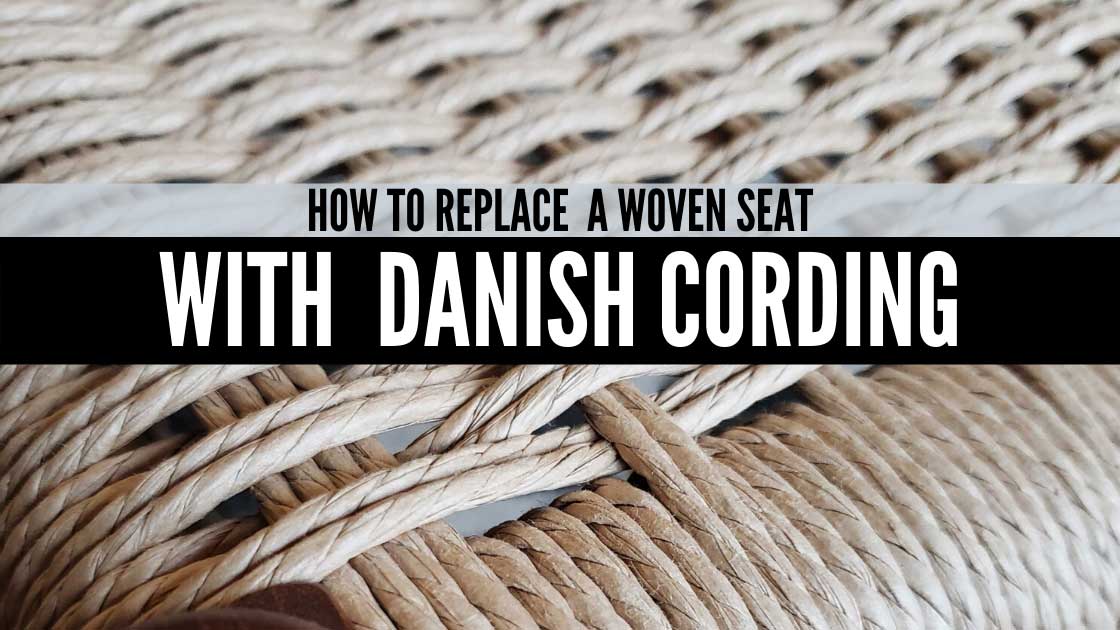
Have y'all ever found a great fix of vintage chairs with woven seats only to come across that 1 of them was damaged? Well Graham, from Minerva Enterprises who is ane of my content contributors restores furniture for a living. He's pulled together this tutorial to show you how he repairs and reapplies new Danish Cord to a woven chair and so y'all can do it likewise. If yous haven't taken a look at the prices of some of these good condition chairs on eBay or your local furniture store, you might desire to accept a peek. You can turn a real profit with the right chair if you lot repair the weaving. And so take information technology away Graham!
Tools & Materials For Chair Repair
- Chair
- Danish Nails
- Spring Clamps
- Tack Hammer
- Tacks (optional)
- Unlaced Danish Cord (or fiber rush)
Scout The Video!
Make certain you subscribe to Graham's YouTube for more than projects!
Why Repair A Woven Chair?

If you take a chair that has a paper cord seat there are several reasons that yous might need to have it re-woven. Broken paper cord being the biggest culprit, others could exist stains that wont come out or even cats, they love to dig their claws into these seats sometimes. Lucky for you, I'm going to show you how to re-seat i of these chairs yourself. After watching the video, y'all notwithstanding don't think you are up to the task, there are people out at that place like me that volition do this for you. One of these chairs, depending on your location, would price effectually $150 to get a new Danish paper cord seat.
Please go along in mind that this is how I learned to exercise information technology and that it is not the only style to weave Danish string.
Chair and Surface Prep
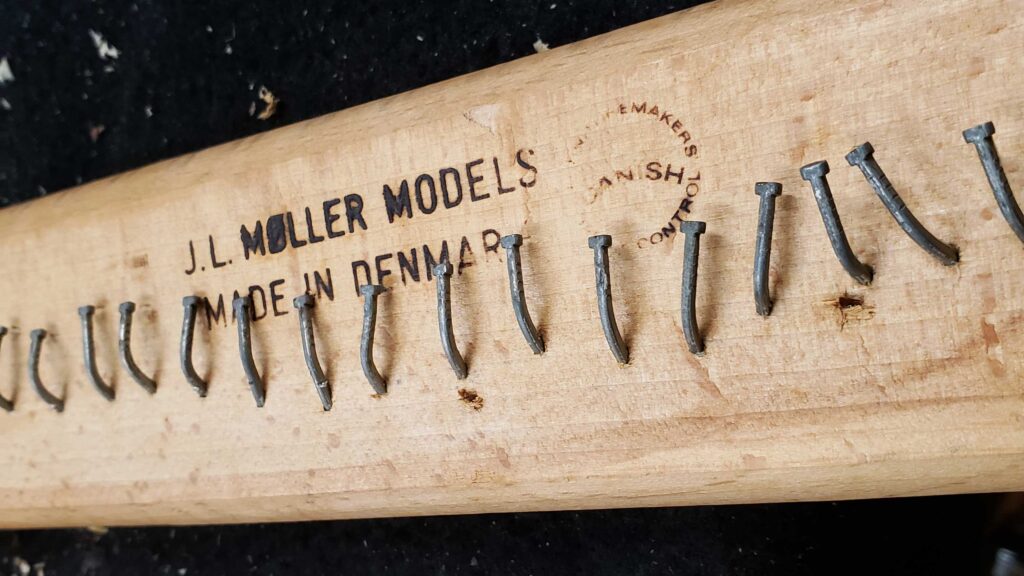
I have a set of teak J.50. Moller chairs that I acquired at an sale. They were in pretty good condition except for the woven seats had a few strands that were broken. While it is possible to repair a few strands, its difficult to match the patina of aged Danish string. With that said, I removed all the Danish string from these chairs, commencement by cutting the old cord
In one case the cords were all cut, underneath, you need to loosen the nails by slightly bending the nails back to get the cord lose. Then y'all remove the sometime cord. What you lot are left with is the chair with all the nails left in place. If a blast breaks or falls out, you lot can replace them.
Weaving The Danish Cord

For one chair, it takes about a 2 lbs. spool of unlaced Danish cord. Y'all tin get a ii-pound spool for about $30 from an online weaving supply store. Considering I had several chairs to do, I used a 10-pound spool I got for $100 and made a spool holder with a lazy Susan to make the unspooling easier.

With the chair facing me and the spool on my left, I get-go on the front left of the chair, you have to secure the end of the string to the chair, you can do this one of two ways. i, you lot tin utilise upholstery tacks to secure the cord to the forepart chair track or two, which I did, you tin weave the cord over and nether the nails on the left side rail with the tail going to the rear of the chair, you only demand to weave it about 4 or 5 nails back. This will secure the cord.
**Always keeping tension on the cord**

From here you start taking the cord on the inside of the first (left most) front end nail and then by going under the forepart rails and back to the rear rail. This first set of strands will exist a set of 4(or 2 sets of two)
In the rear of the chair, you lot will go over the rear rails from the front and upwards under to the left virtually nail from correct to left so back over the rear rail(the way you came) to the forepart, hook on the blast from leftto right and the back over the top to the back.

Using the same nail in the back, right to left, claw the nail and go dorsum to the forepart. When yous get back to the front, hook on the nail and the next nail from left to correct
You will desire to make certain the iv strands are pushed all the mode to the left
You will be spanning two nails, your front to dorsum strands volition always be positioned over the nail.
Continue The Weave

You will continue to practice this the entire way beyond the chair, each nail will go 1 fix of strands except for the first and concluding sets, once you lot get to the last nail on the right of the chair, you will practice 2 sets of strands totaling four strands. Information technology will be the same every bit the start.
Once you bring the last strand back to the front and hook the nail from left to right, you tin can either tack the strand in place or weave over under on the side rail nails to secure information technology in place and cut the cord. Yous can turn the chair over and hammer down the nails with a tack hammer on the front and back rails (all except the middle nail)

Now that you accept all the front back strands completed, you will wrap the front and back stretchers.
Weaving The Stretchers

Starting on the front stretcher, you want to measure out 50 ft of cord and cut it from the spool. Detect the heart and hook it on the eye smash. For the back track it will be 40 ft.
Separate the 2 halves so they do non get tangled.
If you took notice to the chair before y'all disassembled it, you volition have noticed that the front end rail normally has 5 wraps between the long strands. sometimes there are 6 or sometimes 4 only on the Moller chairs its normally 5.

I wrap to the left get-go. On the 5th wrap, on the back of the chair runway, you must cross over the strands that are already nailed. Continue wrapping the front end rails until you get to the end, you desire to get as many wraps as possible, making sure the front to dorsum strands remain over the nails. When you get to the end y'all demand to tack the cord in place (or you lot can over under weave it on the nails on the side rails).
Once you have the front and back wrapped you will start weaving left to right. tack or over under weave the cord to the side runway and pull plenty cord to reach the other side and start weaving, pull it taught, but not tight, hook the nail underneath and and then pull the cord back on the other side, that is the first weave. Use your fingers to pull the strands towards the front rails to keep things tight. Wrap the cord on the next hook on the left side, and starting time weaving to the other side:
Note, you will start contrary where you stated the time before.
Go along to do this until you have done the whole chair.
Depending how many nails there are, you will often have to double upwardly on the nails and then that you don't run out past the time you get to the cease.
Yous will desire to make sure everything is taught but not as well tight.
Concluding Weave

When y'all get to the cease, it will go more than hard. Make sure you lot do not go the strands tangled or twisted., go on pulling the weave pattern to the from to keep information technology tight, the last strand or two will be tight and y'all may need to apply a woods wedge to brand some more space.
When y'all get your last pair in place, hook the tail of the paper cord on the terminal blast and either do the over nether weave on a few nails or use a tack hammer and upholstery tacks to tack the cord in place. If you lot do this, y'all should employ 2 or 3 tacks. One time you have information technology secured in place, you will need to cut off the string. now that you are finished weaving, you lot volition demand to adjust the pattern of the seat. While you were weaving, you were pulling everything towards your body to make room, now nosotros must space out the patter to fill the extra infinite we made.

Now you are done! y'all volition want to audit the chair to see if there are any mistakes that you can fix
~Graham
If yous enjoyed this tutorial, brand sure yous check out more of Graham's piece of work we've featured on Lazy Guy DIY. If you're interested in purchasing piece of furniture from Graham or having him repair furniture for you lot, check out his website at Minerva Enterprises.
Source: https://lazyguydiy.com/how-to-replace-a-woven-seat-with-danish-cord/
0 Response to "How To Repair Woven Chair Seat"
Post a Comment